
I bought this hybrid tube amplifier made by Mistral Audio (http://www.mistralaudio.com/Stereo.html) from the shop Precision Audio in Adelphi (affiliated to Ban Leong Brothers Singapore) slightly over a year ago. It sounded really good when I first got it and only cost $169SGD (!!!!) which is the cheapest power amplifier I have seen in the entire building (The Adelphi has many...many high end audio shops with 4-5 digit product price tags).
It uses a pair of 6N1 triodes as well as a pair of 6P15 pentodes for the preamplifier section. The power output utilizes a pair of LM1875 solid state amplifiers capable of 20 Watts each.
After using it for a year I noticed the sound quality started to deteriorate really fast. It started buzzing, humming and distorting intermittently and really got on my nerves and my ears. I did some research and I found out quite a lot of disappointing things from many different forums, mainly:
-It isn't really 'made' by Mistral Audio. This amplifier is a generic Chinese designed and manufactured amp apparently in the same factory as where they build the other Mistral Audio amplifiers that cost more than a thousand bucks. This amplifier that costs $169SGD is made in that same factory (i think?) but wasn't designed by Mistral Audio; it was designed by a nameless company and they just slapped their brand on it...together with a few other brands such as Jaycar (model AA-0474) in Australia which they are discussing on this forum:
-All the tube heaters are actually over voltage and are running much hotter than they should be. I found this out from the audiokarma forum link above as well as from this experienced person's (cool386) website:
This means that the tubes will fail and burn out much sooner than their normal lifespan, bringing the sound quality down the longer they are run. They are not supposed to be as bright as they look in this picture:


-Also, only half of each triode is actually hooked up to the preamplifier circuit, meaning that while the tubes definitely do contribute to the sound, they are not actually fully utilized.
---------------
The bottom line is that the amplifier doesn't sound bad...it doesn't sound bad at all! But in order to get it working consistently at its full potential, a few modifications had to be made.
The first modifications I did was to reduce the heater voltages. I assumed the tubes were all burnt out after spending a year running hot and ordered a completely new pair of (Bulgarian/Ukrainian NOS tubes) 6N1s and 6P15s from eBay. The forum members on the audiokarma forum suggested putting voltage drop resistors which would work but after tracing the preamplifier PCB I could not understand the logic behind their suggested resistor placement and came up with a new one.
The amplifier can be dismantled easily; just remove all the screws on the edges of the bottom and the entire bottom plate comes off. Use a marker to mark all the connectors you see so you will be able to identify which connector goes back to which later on during reassembly.
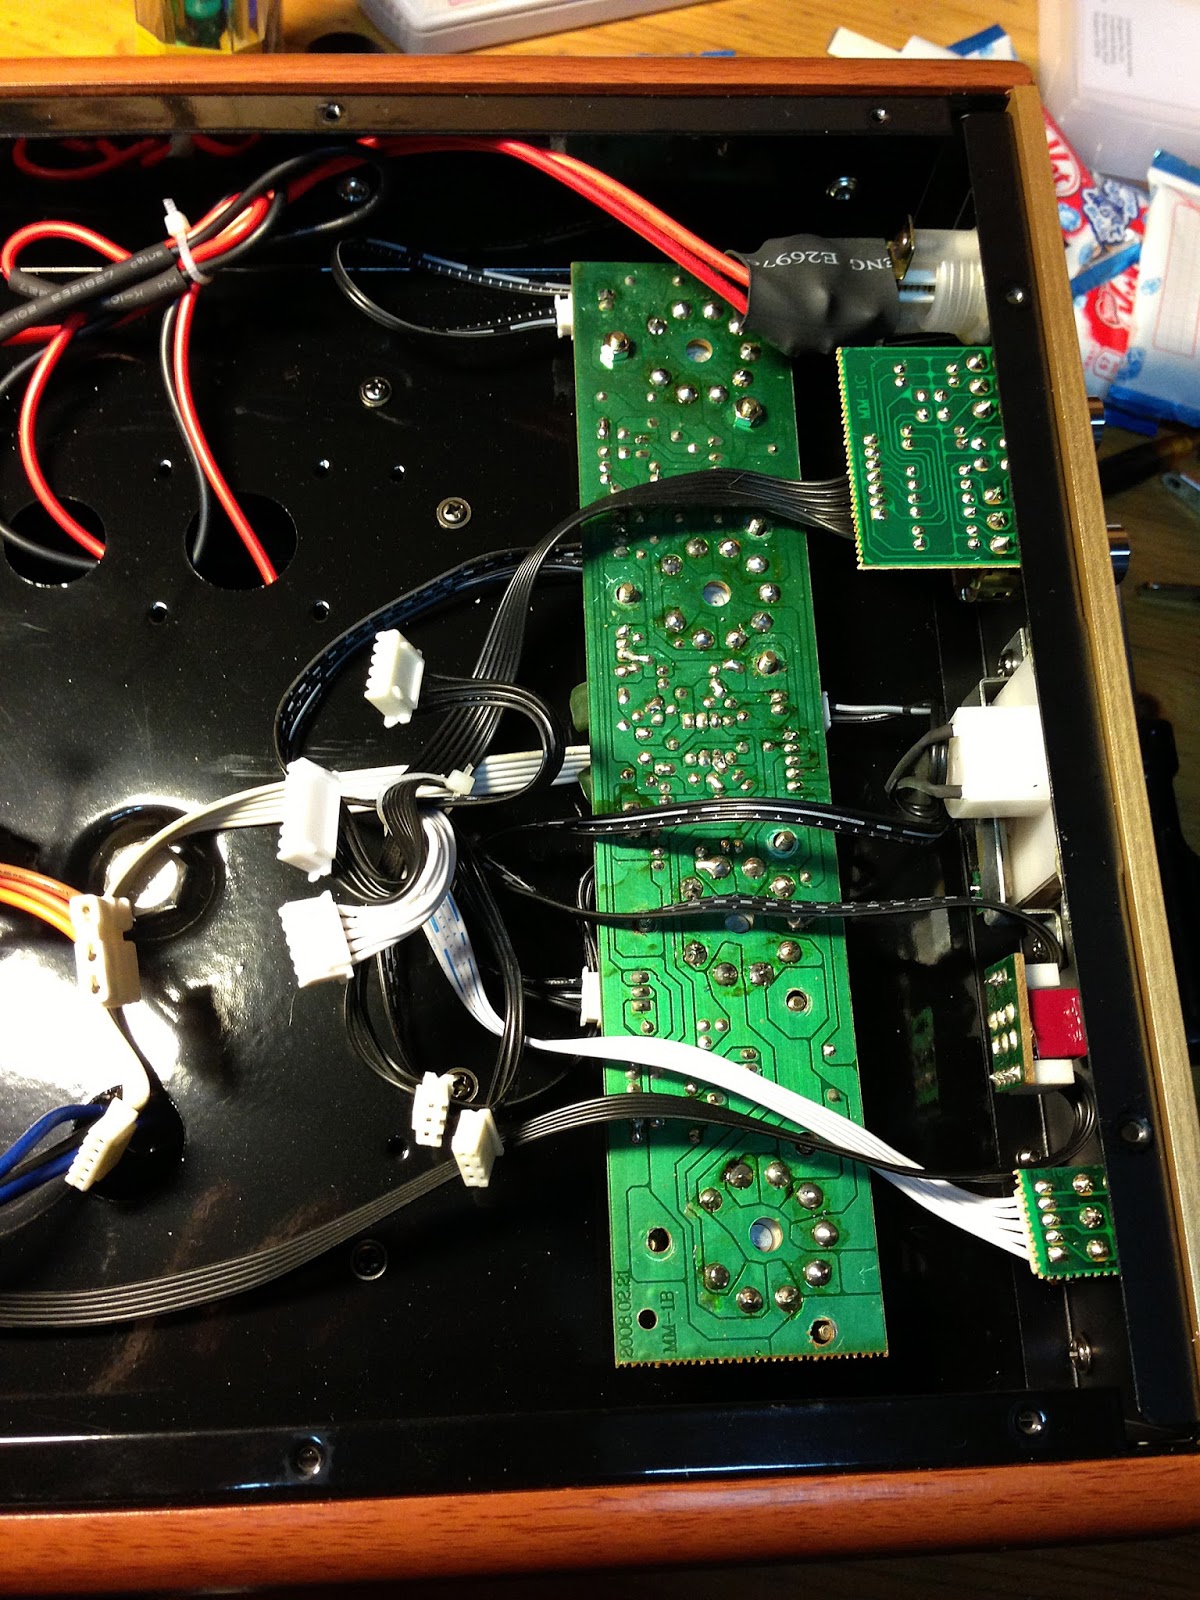
The preamplifier PCB can be accessed by removing all the tubes from their sockets and unscrewing the 12 nuts holding the PCB in place.

Be sure to click on the image above to get a closer view. The socket pins bounded in the red squares are the tube heater pins. From cool386's post on this amplifier he stated that the power from the heaters come straight from the 16VAC transformer winding. This 16VAC is fed through a diode to produce about 8.5V RMS which is above the required 6.3V heater voltage of the tubes.
I got 4 x 3.3ohm ceramic resistors rated for 4 Watts each and connected each tube heater in series with the 8.5V RMS source. This would drop about 2V for each tube, bringing it down to a more tolerable 6.5~V whilst each resistor would burn about 1.5~W each.

I apologize for my poor MS paint skills but I think this is enough to illustrate the modification. Cut the traces with a penknife at the red X's and wire up the resistors accordingly. All the resistors are of the same value and the blue colored one is only for the sake of clarity. I scraped away the track coating in the right yellow circle and soldered the resistors to the copper track directly as there were no pads available there. I placed heat shrinks on the legs of the resistors to prevent any shorts.The completed modification is as shown:

The next thing I looked at was the power amplifier stage which holds the solid state amplifiers as well as the power supply:

Since the warranty for this amplifier was over, I decided to overhaul all the cheap electrolytic capacitors on this board to audio grade ones. There were also more electrolytic (decoupling?) capacitors on the top of the preamplifier board to be replaced as well:

The replacement capacitors of my choice were the Nichicon "Muse" Electrolytic capacitors which are supposedly of 'audio grade'. I felt more comfortable having these high quality components rather than the chinese "Robicon" (ripped off from Rubycon?) and ChengX capacitors.


so it was out with the old and in with the new:

Some of the new capacitors were bigger than the old ones thus some slight bending and twisting was required to make them fit back into the chassis comfortably.


The tubes (6N1p pictured) also arrived and I replaced the stock Chinese ones with these NOS Russian ones which are supposedly military grade and more hardy:

After going through all that trouble, I switched on the amp...and...the buzzing and distortion was still there!!! How frustrating!!! You can hear the buzzing and distortion I am referring to in the before and after video at the end of this post.
I realized the distortion only comes during quiet passages of certain songs that were played. The noise got louder every time I increased the treble potentiometer so I traced the circuit from the pot and found that it led to a pair of JRC4558D op amps (the red squares in the picture below) on the PCB, one connected to the treble pot and the other to the bass pot.

I did some research and my description of the distortion matches what is known as "crossover distortion" (http://en.wikipedia.org/wiki/Crossover_distortion) where the distortion mainly occurs during low signal (soft passages in a song) voltages in a "push pull" amplifier but disappears in normal to loud voltages. I won't go into much detail about this but I spotted two transistors down the signal path that might suggest this is a push pull amplifier. Before attempting to try to change the transistors I decided to change the 4558 op amps first just to see if that fixes anything.
I removed the op amps and soldered on 8 pin sockets in their places. After trawling through many forums and webpages I found a suitable upgrade in the form of the LM833N op amp and plugged them in.


I switched on the amp and played the same song that was giving me so much distortion before and...it was perfect! Changing the op amps solved the 'crossover distortion' completely!

I did not connect the LED lighting for the VU meter because I felt it was far too glaring and spoiled the look of this otherwise good looking amp. The tubes also lost their lightbulb glow and is now glowing at what seems to be the correct brightness. The sound of the amp has also improved by a great amount and I don't mean it in the pretentious "the high end is clearer and the soundstage is wider etc etc" kind of way...I mean it REALLY improved and the video below proves it. Be sure to select and watch it in the highest definition to get the best audio quality.
I'm not going to state that the 4558D op amps are better than the 833N because of the sheer amount of arguments I have read on forums all around. I will only state that the issues I had with the 4558 might be because the pair of op amps I replaced were perhaps from a defective batch because they did not sound this way when I first bought the amp. But from the datasheet the 833N claims to be low noise and that justified a try and I'm happy I did.
Take note that the video was recorded using an external mic set on the speakers and that makes it sound worse than it actually does. But you should be able to hear the buzzy distorted vocals that are no longer buzzy after the modifications are made.
*EDIT*: unfortunately I realize that youtube isn't exactly the best place to compare audio quality. the buzzy distorted vocals before the modification sound way worse in the .wav file i saved but I think youtube downsizes the audio quality to 128kbps or so, thus smoothing over the buzzy vocals and making the distortion not that obvious..but take my word for it that switching the op amps in this situation really helped rectify the problem
*EDIT*: unfortunately I realize that youtube isn't exactly the best place to compare audio quality. the buzzy distorted vocals before the modification sound way worse in the .wav file i saved but I think youtube downsizes the audio quality to 128kbps or so, thus smoothing over the buzzy vocals and making the distortion not that obvious..but take my word for it that switching the op amps in this situation really helped rectify the problem